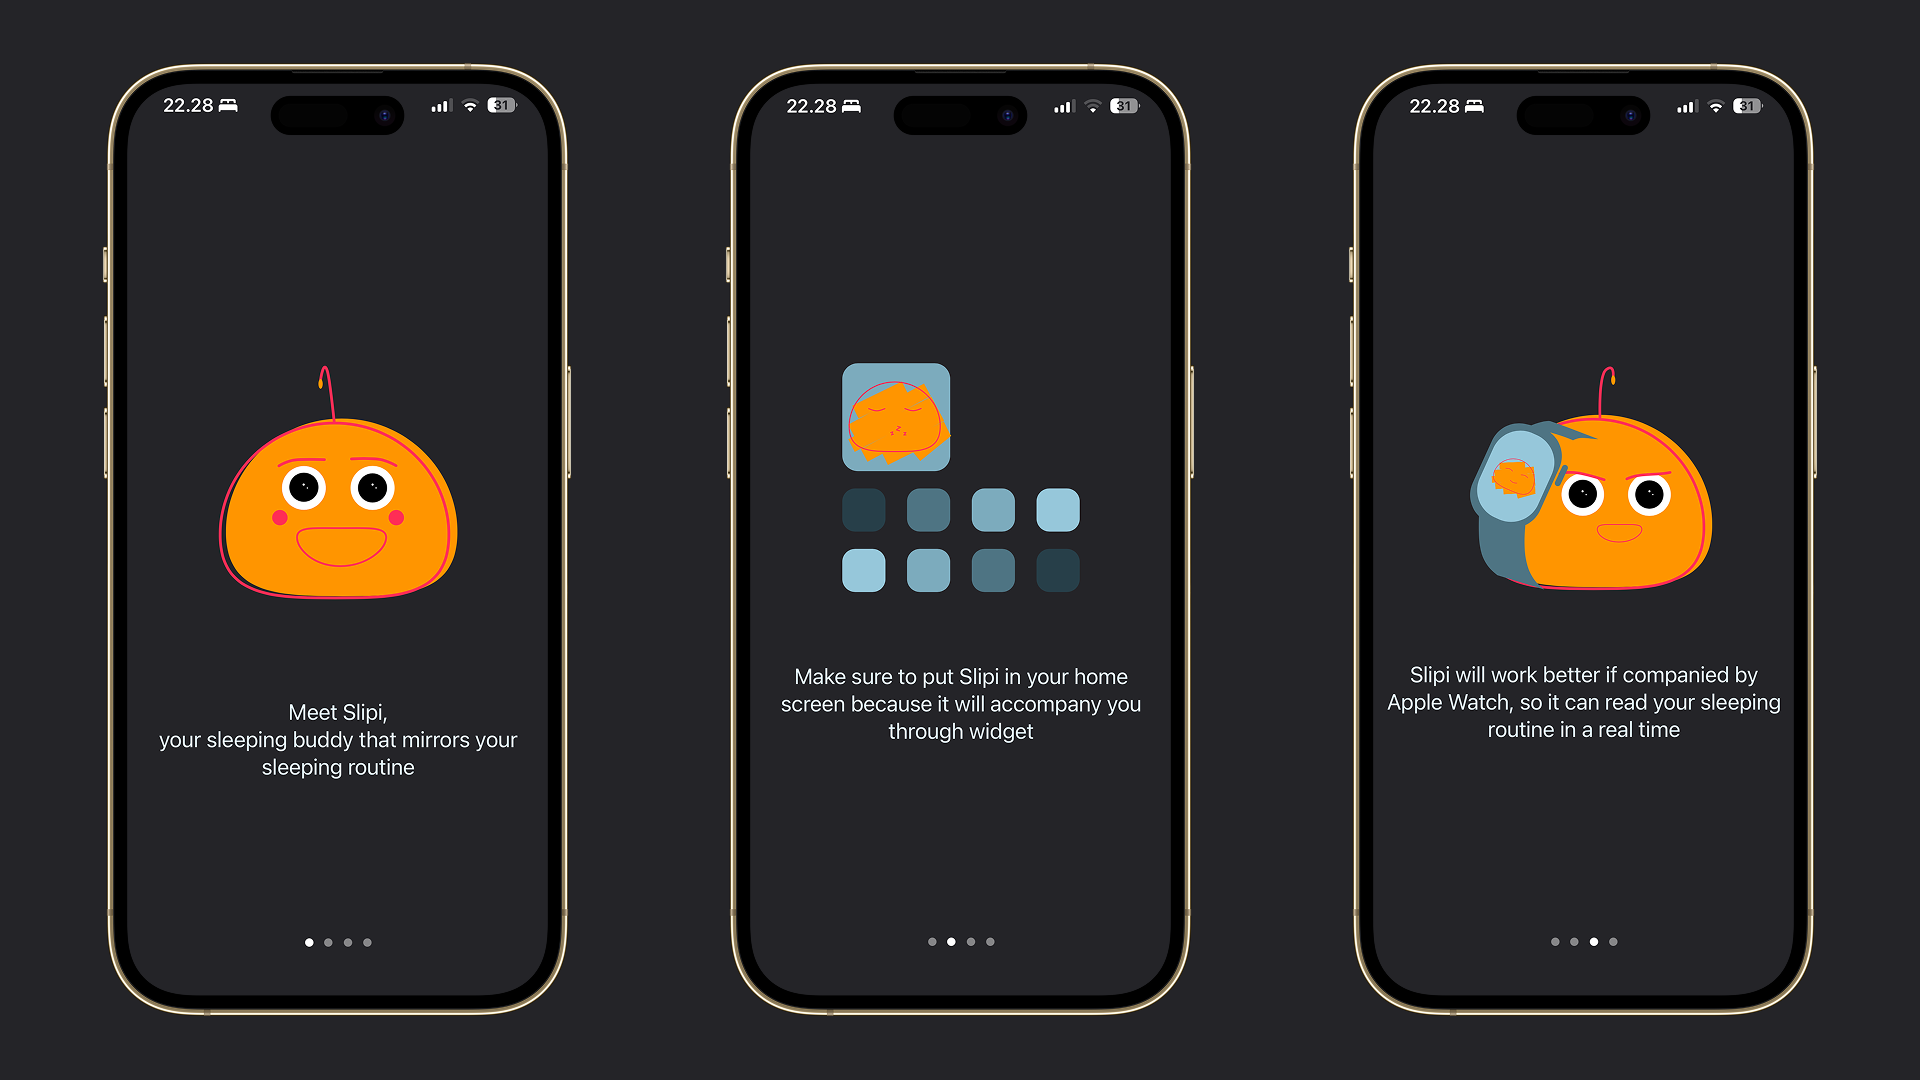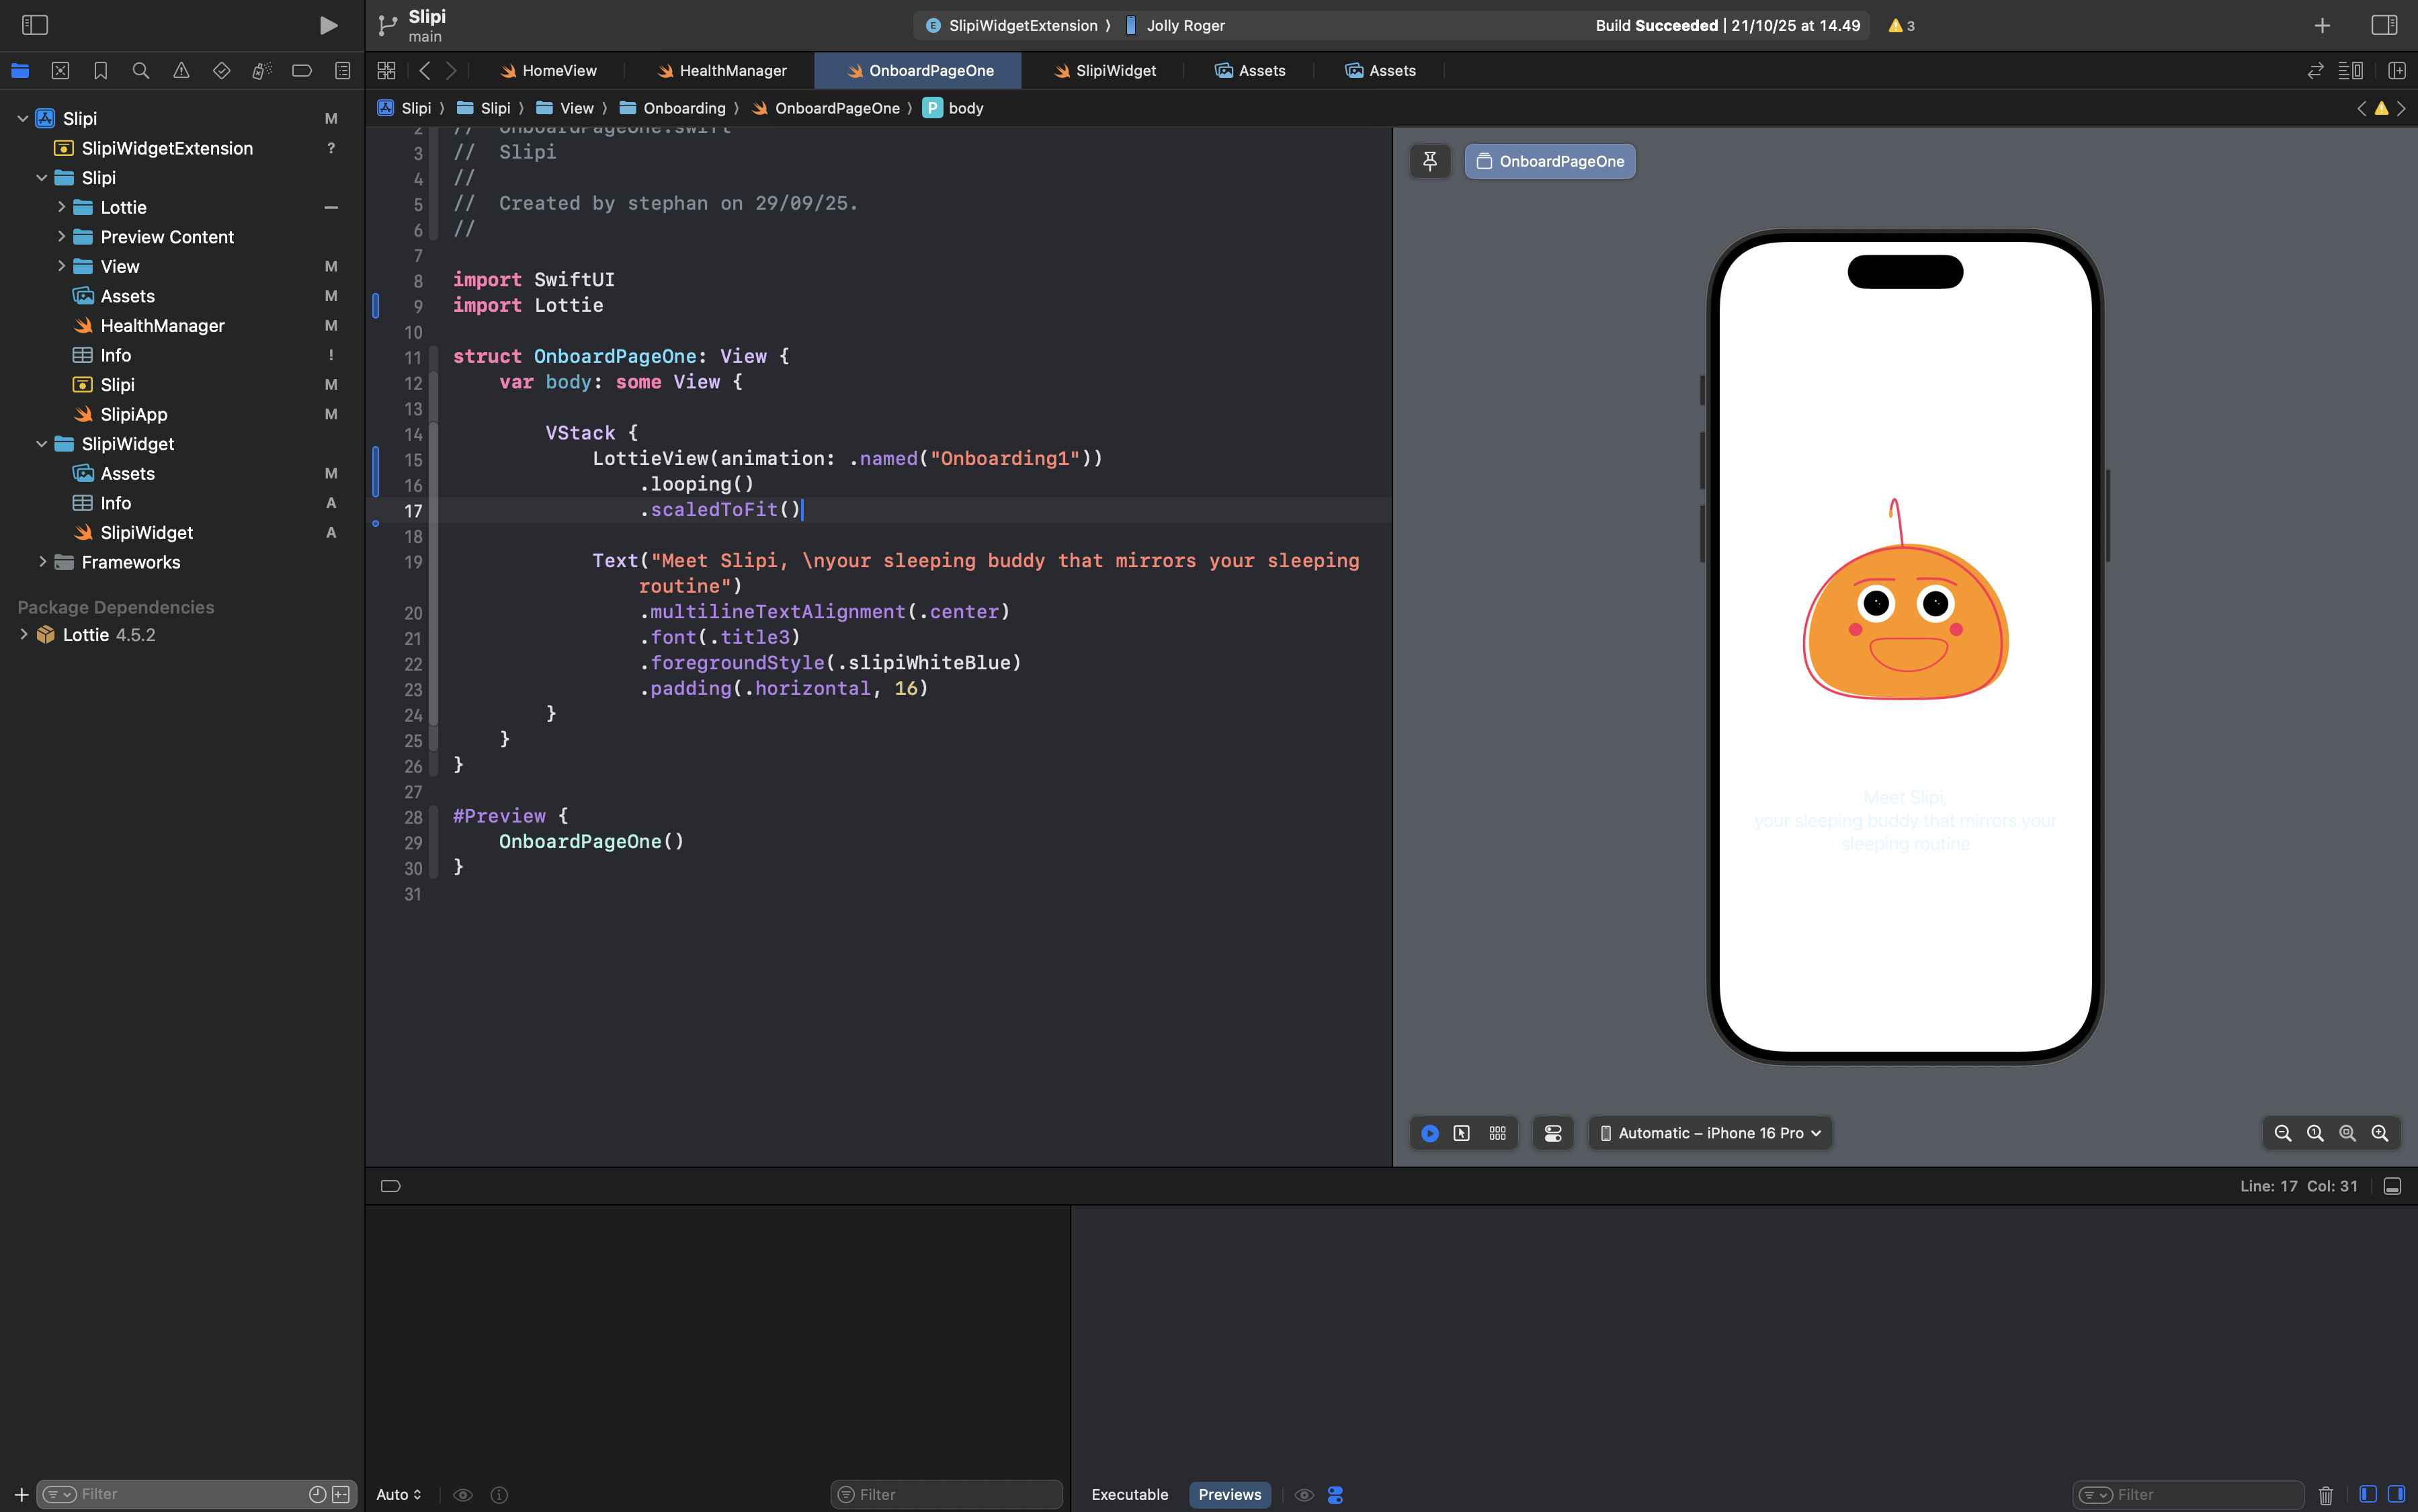
When I started working on Slipi, I wanted to make the sleep experience feel more alive. Instead of static icons or text, I thought it’d be fun to represent different sleep states with subtle, looping animations.
That’s when I discovered Lottie, a lightweight animation framework from Airbnb that renders After Effects animations natively on iOS. I had seen it used in many apps before but never tried it myself — so this became the perfect opportunity to explore it hands-on.
🧩 Installing Lottie
The Lottie iOS library can be installed in several ways:
- GitHub Repository
- Swift Package Manager (SPM)
- CocoaPods
- Carthage
Since I was new to Lottie and my project was built entirely with SwiftUI, I decided to use Swift Package Manager because it felt the most beginner-friendly and integrated nicely with Xcode.
📚 Resource: Lottie iOS GitHub Repository
After installation, all you need to do is:
import Lottie🛠️ Implementing Lottie in SwiftUI

At first, I thought integrating Lottie might be complicated — especially since it was originally designed for UIKit — but it turned out to be much simpler than expected.
The LottieView provided by the library works differently depending on the file type you’re using.
For .json files:
LottieView(animation: .named("StarAnimation"))For .lottie files:
LottieView {
  try await DotLottieFile.named("StarAnimation")
}
Once your animation is set up, you can control playback using simple modifiers:
.playing()          // Plays the animation once
.looping()          // Loops the animation continuously
.currentProgress(0.5) // Pauses halfway through
📚 Resource: Lottie iOS Discussions - Usage Guide
These modifiers made it easy to test different behaviors in Slipi — for instance, looping animations for “deep sleep” and one-time animations for “wake up.”
💡 What I Learned
- The SwiftUI integration isn’t as complex as it looks — you don’t need to bridge from UIKit unless you want extra control.
- Swift Package Manager is by far the easiest way to add Lottie for beginners — quick setup, no extra files.
- The implementation slightly differs between .json and .lottie files, but both are straightforward once you understand their syntax.
- Playback modifiers like .playing(), .looping(), and .currentProgress() make it easy to control animations dynamically.
There’s also a version of the implementation for UIKit, which is explained in this great tutorial from LottieFiles:
📚 Resource: How to add Lottie Animation in iOS (UIKit)
I didn’t try this approach since Slipi is fully built with SwiftUI, but it’s a helpful resource if you’re working on UIKit-based apps.
✨ Closing Thoughts
Using Lottie taught me that animations can be both expressive and functional. In Slipi, they weren’t just decorations — they visually communicated the user’s current sleep state, making the experience calmer and more engaging.
At first, I thought integrating Lottie into SwiftUI would be challenging. But after working through it, I realized it’s a powerful and surprisingly accessible tool. I’m definitely planning to use it again in future projects — especially when I want to bring more personality and motion into my apps.